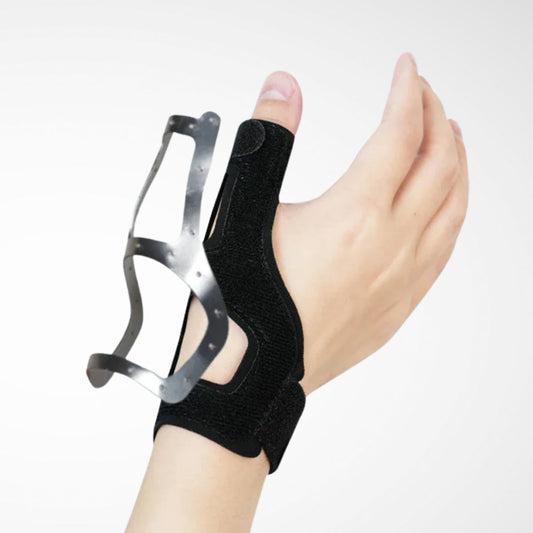
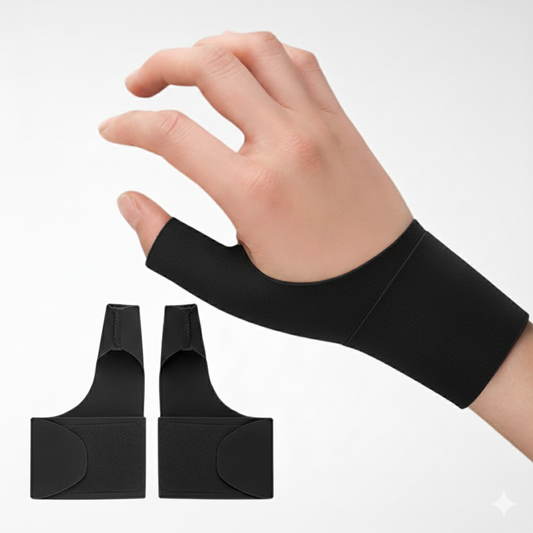
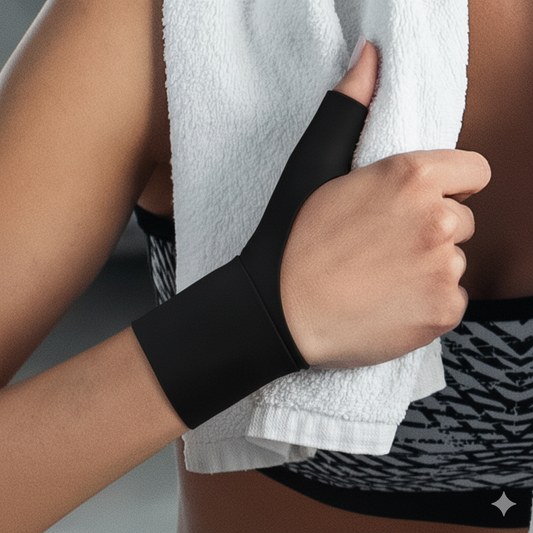
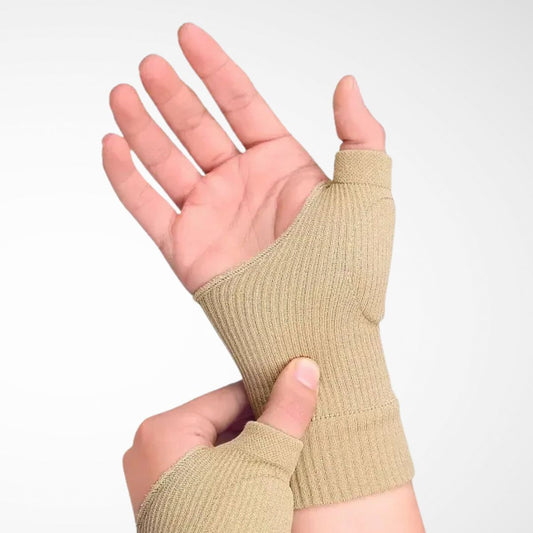
How to Tape a Sprained Thumb: Step-by-Step Guide for Quick Recovery
In everyday life, a sprained thumb is a common injury that causes pain or swelling when the ligaments are stretched or torn, often due to an accident or fall. Although not too serious, if not properly bandaged and treated, a sprained thumb can lead to more severe pain and significantly affect quality of life. So, how can you bandage a sprained thumb correctly? Below is a detailed guide for you.
Understanding a Sprained Thumb
A sprained thumb is an injury that commonly occurs in daily life and can result from falls, intense sports activities, heavy objects falling on the hand, or hitting a hard surface. If the pain is only mild, a sprained thumb can be managed at home with proper bandaging. However, if the injury is severe, you should immediately visit the nearest medical facility for examination and treatment by doctors.
Common Causes of Thumb Sprains
Thumb sprains usually occur due to the following main causes:
- Injuries During Sports Activities: Thumb sprains often occur in sports that involve gripping or throwing, such as basketball or football. The quick movements and physical contact can lead to overstretching or tearing of the ligaments in the thumb.
- Falling with Strong Impact: When a person falls and instinctively extends their hand to break the fall, the thumb can be forced into an unnatural position. This sudden impact can strain or sprain the ligaments, resulting in pain and instability.
- Heavy Objects Falling on the Hand: If a heavy object falls on the hand, the force can compress the thumb and cause injury to the ligaments. This type of trauma can lead to sprains as the thumb may be forced into awkward angles under the weight.
- Hitting the Hand Against a Hard Object: Accidentally striking the hand against a hard surface, like a wall or furniture, can cause immediate trauma to the thumb. This impact can stretch or tear the ligaments, resulting in a sprain.
- Traffic or Workplace Accidents: In traffic or workplace accidents, the hand can be caught or crushed, leading to thumb injuries. The sudden force from these incidents can easily cause a sprain, especially if the thumb is in a vulnerable position.
Why Taping Is Important for Recovery
Immobilizes and Stabilizes the Injured Joint
Taping helps to immobilize the injured joint, preventing excessive movement that could aggravate the injury. This stabilization is crucial for allowing the body to heal properly and reduces the risk of further damage.
Reduces Pain by Limiting Movement
By limiting the range of motion in the injured area, taping can significantly reduce pain during daily activities. This controlled movement helps to prevent sharp, unexpected motions that could exacerbate discomfort.
Prevents further Injury during Healing
Taping acts as a protective barrier, reducing the likelihood of re-injury while the thumb is healing. This is especially important in preventing strain on the ligaments as they recover.
Provides Compression to Reduce Swelling
The compression from taping helps to control swelling around the injured area, promoting better blood flow and reducing inflammation. This can lead to a quicker recovery and improved overall comfort.
Allows for Some Functionality while Protecting the Thumb
Taping enables individuals to maintain some level of functionality in their thumb while still offering protection. This balance allows for essential activities to be performed without risking further injury.
Materials Needed for Taping a Sprained Thumb
To bandage a sprained thumb at home, you need to prepare the following tools and materials:
- Athletic or Sports Tape: Athletic or sports tape is designed to provide support and stability to injured joints while allowing some flexibility. It adheres well to the skin and is durable enough to withstand movement during daily activities.
- Pre-wrap or Foam Underwrap: Pre-wrap or foam underwrap is used to protect the skin from irritation caused by direct contact with the tape. It provides a cushioning layer that enhances comfort and can help the tape adhere better.
- Scissors: Scissors are essential for cutting the tape to the appropriate length and shape for effective application. Having sharp scissors ensures clean cuts, making the taping process smoother and more efficient.
Preparing to Tape Your Thumb
Before proceeding with bandaging the injury, you need to prepare a few steps as follows:
- Prepare the necessary tools: To make the bandaging process quick and convenient, refer to the checklist above and gather items such as adhesive tape, wound-soothing medication, and scissors for cutting tape.
- Clean your hands and tools: This step ensures that your hands and the tools you use are sterile, preventing bacteria from worsening the injury and slowing down the healing process.
- Consult a doctor or medical professional: Getting confirmation from healthcare experts will help you ensure that your injury can be treated at home, while also allowing you to make any necessary adjustments if required.
Step by Step Guide: How to Tape a Sprained Thumb
You can bandage a sprained finger yourself by splinting to keep the finger stable, following the steps below:
- Place cotton or gauze between the injured finger and the adjacent fingers to prevent moisture buildup between them.
- Wrap adhesive tape around both fingers to secure the injured finger to the healthy one.
- Use a strip of tape to connect the adjacent phalanges at the proximal area between the metacarpophalangeal joint (MCP) and the proximal interphalangeal joint (PIP), leaving the joints themselves uncovered so they can bend and extend.
-
Apply a second strip of tape to bind the two fingers distally between the PIP joint and the distal interphalangeal joint (DIP), once again leaving the joints free to move.
- Check and adjust the tape to ensure proper coverage without being too tight or causing discomfort.
Alternative Taping Method for Sprained Thumb
 The Kinesiology Tape Method is also an effective way to bandage a sprained finger. Below is the procedure you can follow:
- Prepare the Area: Clean and dry the skin around the thumb to ensure proper adhesion of the tape. Cut a length of kinesiology tape, approximately 10-12 inches long.
- Anchor the Tape: Place one end of the tape on the base of the thumb, just above the wrist, without stretch. Smooth it down along the back of the thumb towards the tip.
- Apply the Tape: With the thumb in a neutral position, apply the tape along the sides of the thumb with a moderate stretch, following the natural contour of the thumb. Avoid applying too much tension, as this can restrict movement.
- Secure the End: Finish by anchoring the other end of the tape at the tip of the thumb or just below the knuckle, again without stretch. Press down to ensure the tape adheres well.
- Check for Comfort: Move the thumb gently to ensure the tape provides support without restricting circulation. Adjust if necessary for comfort and effectiveness.
Tips for Effective Recovery
To speed up the recovery process and effectively reduce pain, patients can apply the following methods:
-
Rest and Ice: When suffering from a sprained thumb, it is important to get enough rest and avoid intense activities or sports until the finger is fully healed. You can also apply an ice pack to the injured thumb for 15–20 minutes, 3–4 times a day, to reduce swelling.
-
Elevation: Frequently elevate the injured hand (above heart level) to reduce swelling and pain. While sleeping, you can place your hand on a pillow to keep the injured thumb elevated, helping the wound heal faster.
- Pain Management: Learn how to manage and tolerate the pain. Some pain relievers such as ibuprofen, acetaminophen, or aspirin may be used to ease discomfort, but they are not recommended if the pain is still within a tolerable level.
When to replace your tape
The bandage for a sprained finger needs to be changed regularly to avoid negative effects on the recovery process. If you encounter any of the following situations, you should replace the bandage according to the guided steps:
- Becomes loose or starts to unravel: If the tape becomes loose or starts to unravel, it may not provide the necessary support for the injured area. Replacing it ensures continued stability and protection during the healing process.
- Gets wet and doesn't dry completely: When the tape gets wet and doesn’t dry completely, it can lose its adhesive properties and effectiveness. Moisture can also increase the risk of skin irritation, making it important to replace the tape.
- Causes skin irritation or discomfort: If you experience any skin irritation or discomfort from the tape, it’s a sign that it needs to be replaced. Prolonged irritation can lead to further skin issues, so removing and replacing the tape is essential.
- Has been on for more than 2-3 days: Kinesiology tape should generally not be left on for more than 2-3 days to prevent skin irritation and ensure optimal performance. Regularly replacing the tape helps maintain its effectiveness in providing support.
- No longer provides adequate support: If you notice that the tape is no longer providing adequate support or feels ineffective, it’s time to replace it. Proper support is crucial for recovery, and using worn-out tape can hinder healing.
Signs of a Serious Injury
If you experience any of the following situations, it means your sprain is becoming more serious. What you need to do is go to a hospital or a reputable medical facility for timely treatment:
- Severe Pain That Doesn’t Improve with Rest and Ice: If you experience severe pain that persists despite rest and ice treatment, it may indicate a more serious injury. This type of pain often suggests significant damage to the ligaments or structures in the thumb.
- Significant Swelling That Doesn’t Reduce After 48 Hours: Swelling that remains pronounced after 48 hours can be a sign of a serious injury, such as a fracture or severe sprain. Persistent swelling may require medical evaluation to rule out more severe damage.
- Inability to Move Your Thumb at All: If you cannot move your thumb at all, it may indicate a serious injury, such as a complete ligament tear or fracture. This loss of mobility warrants immediate medical attention.
- Numbness or Tingling in Your Thumb or Hand: Experiencing numbness or tingling in your thumb or hand can suggest nerve involvement or serious injury. These symptoms should be evaluated promptly to avoid long-term complications.
- Visible Deformity or Unusual Thumb Position: A visible deformity or unusual position of the thumb can indicate a fracture or dislocation. This type of injury typically requires immediate medical attention to prevent further complications.
- Hearing or Feeling a ‘Pop’ at the Time of the Injury: If you heard or felt a 'pop' during the injury, it often signifies a ligament tear or joint damage. This symptom is a strong indicator that professional evaluation is necessary.
- Instability in the Thumb Joint: Instability in the thumb joint, where it feels loose or wobbly, can suggest a serious ligament injury. This instability may require medical intervention to ensure proper healing and function.


